3 Survey Flow
This section is about the Survey Flow section of the Survey Builder tab of Qualtrics.
3.1 What is Survey Flow?
Survey Flow is the collective term for methods of broadly customizing the elements that respondents interact with inside the survey. You can use survey flow to display blocks of questions in a particular order, to make certain blocks of questions conditionally available to certain respondents, or to end the survey early for a particular group or once a quota is met.
Survey flow elements include:
- Blocks of questions (see Section 2.3.2 in the previous chapter)
- Branch (see Section 3.2 below)
- Embedded Data (see Section 17.3)
- Randomizer
- Web Service
- Supplemental data (enabled on an as-needed basis)
- Group
- Authenticator (see Section 3.4 below)
- End of Survey (see Section 3.3)
- Reference Survey
- Table of Contents
3.1.1 Utilizing Survey Flow
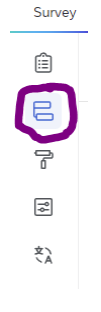
To utilize Survey flow elements, select the Survey Flow icon in the left-hand Survey Menu.
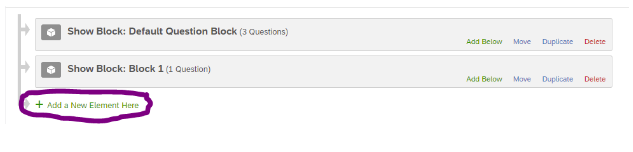
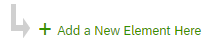
Select “Add a New Element Here”.
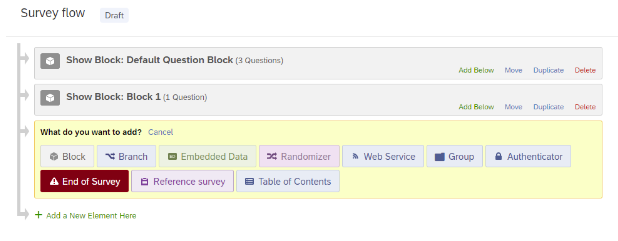
This will bring up the Survey Flow elements interface, where you can choose which Survey Flow element you want implement. Multiple Survey Flow elements can be implemented in a single survey. All elements, including question blocks, can moved around within the survey using this interface.
For additional details, see the Qualtrics documentation on survey flow
3.2 Branch Logic
Branch logic is a type of survey flow used to show users different blocks of questions depending on specific conditions. Branches can be triggered by participants’ responses to previous questions or by embedded data associated with the participant (see Section 17.3). Branches can contain multiple elements and can be nested within other branches.
To implement branch logic, go to Survey Flow, add a new element, and select the Branch element.

You will then be prompted to Add a Condition.

Chose the relevant question or other factor and select OK.
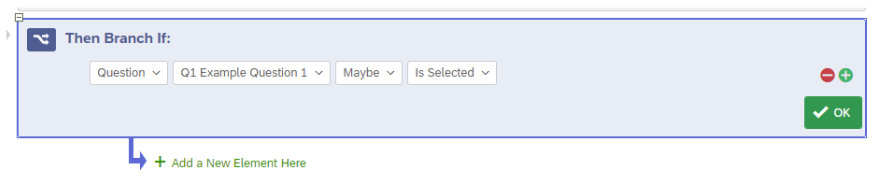
Finally, to move blocks or other elements under the branch logic, click and drag the elements where they say “Move.”
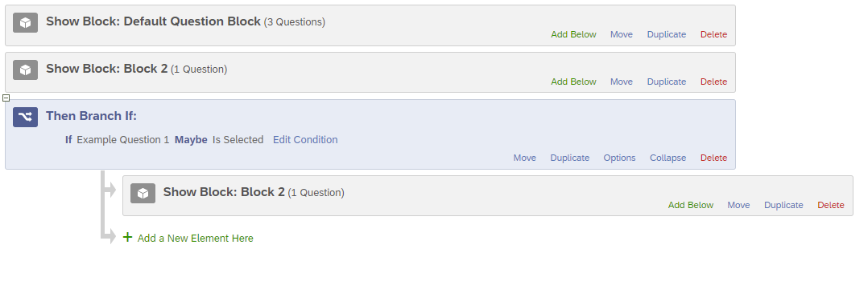
For additional details, see the Qualtrics documentation on branch logic.
3.3 Custom Thank-You Page
Qualtrics allows for customizing the End-of-Survey page for all respondents to your survey, or to certain populations based on their responses to questions within the survey using Branches (see Section 3.2).
To create a custom thank you page, go to Survey Flow, add a new element below the last block of the survey or desired Branch, and select the End of Survey element.
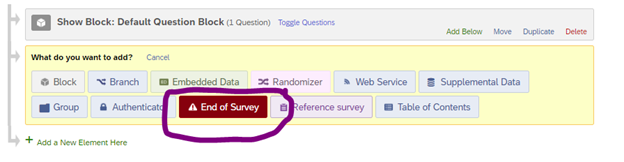
This will automatically add an End of Survey element to your Survey Flow. To create a specific message for your survey or survey Branch, select Customize.

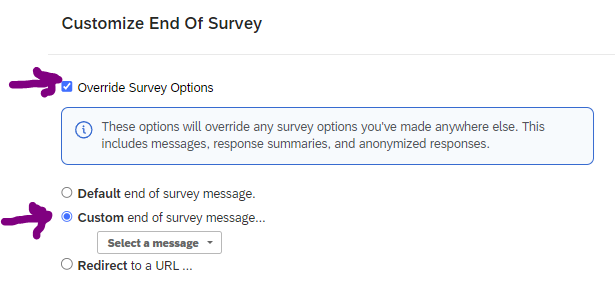
You will now see a dialog box that likely indicates that the element is using the “Default end of survey message.”
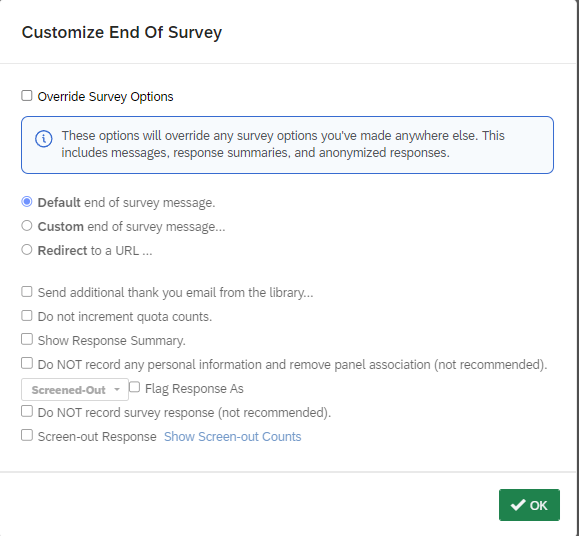
To implement a custom message, check Override Survey Options and change the radio button selection to “Custom end of survey message”.
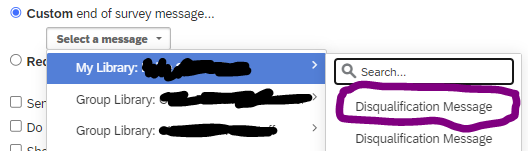
You will be prompted to Select a message. If you have previously created a custom message, or are a member of a Qualtrics group that has shared messages, you can select one here from either “My Library” or a “Group Library” here.
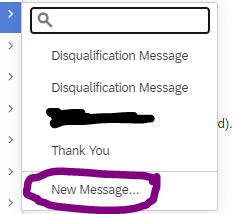
Otherwise, you can create a “New Message” in your own library.
You may also be able to create messages in Group Libraries. For access to a Group Library, contact your Qualtrics division (in your college) or brand administrator (CITL Data Analytics).
You will now be prompted to create the content of your new message.
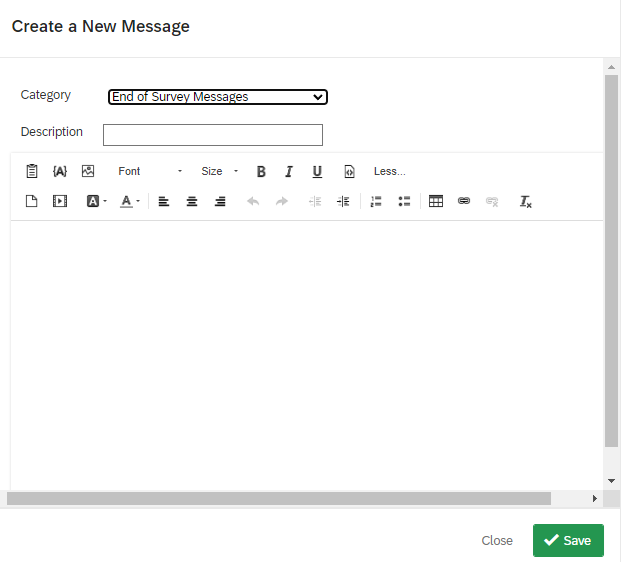
Name your new message in the description box and write and format the relevant content in the text field.
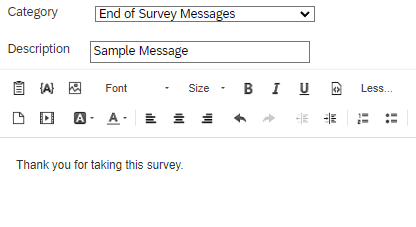
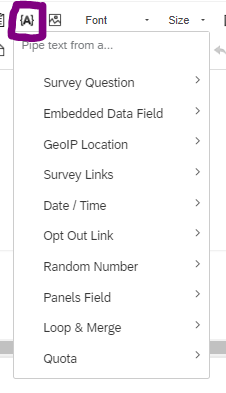
If you would like to show your respondents answers from their own surveys, you can use the Insert Piped Text field here as well (see Section 17.1).
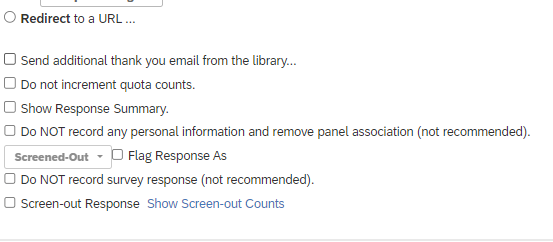
Once you have finished editing your message, select Save and you will be returned to the “Customize End Of Survey” dialog window. Here you can make other customizations such as showing respondents their own Response Summaries, though these options are less likely to be relevant to most users.
Select OK to finish the customization process.
You should now see a small check mark next to the Customize button on the End of Survey Element in the Survey Flow view.

If you will be using separate End of Survey messages for different Branches, repeat the process for each Branch. Then select Apply at the bottom of the screen to apply the changes to your survey.
If you make changes to a previously published survey, you will need to publish these changes in order for them to take effect.
3.4 Authentication
Qualtrics surveys can incorporate Single-Sign-On (SSO) authentication as a way of adding identifying information to responses or as a condition for survey logic (Section 2.5 discusses survey logic).
To create a custom thank you page, go to Survey Flow, add a new element below the last block of the survey or desired Branch, and select the End of Survey element.
3.4.1 To Enable SSO Authentication on Your Survey
- Go to the Survey and click the Survey flow interface.

- Select “Add a New Element Here.”
- Choose “Authenticator.”

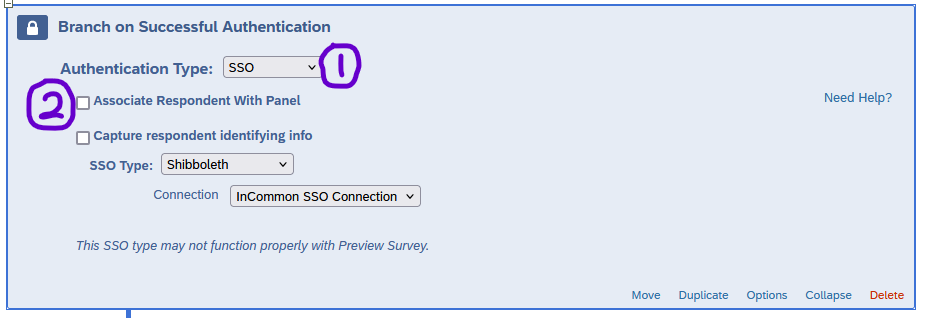
- Set up the Authenticator using the following settings:
- Set the Authentication Type as “SSO”
- Uncheck the “Associate Respondent with Panel” checkbox
- Checking this option requires respondents to be member of a selected contact list and allows respondents to only reply once
- Only check the “Capture Respondent identifying info” checkbox if you want to record respondents’ information (name, email, etc.; see below)
- Set the SSO Type as “Shibboleth”
- Leave the Connection as the default “InCommon SSO Connection”
- Move the Authenticator block to the top of the survey flow so the authentication is triggered before the survey opens. Drag all blocks you want authenticated underneath the authenticator.
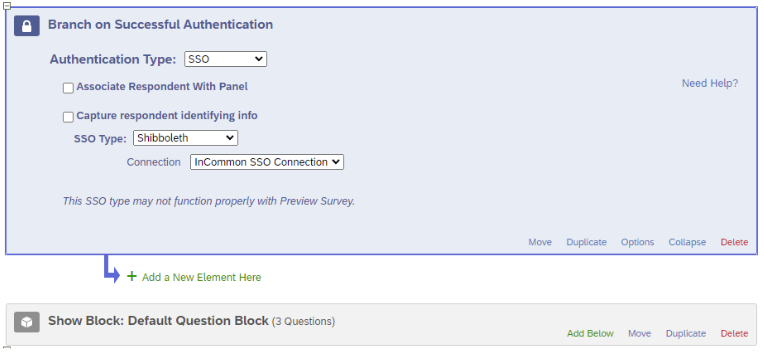
- Check “Apply” at the bottom right of your screen to apply the changes.